Autor: Elexa Nosonchuk
(picture 1 and 2) very well organized. Each card of parts matches a letter from the directions and each bag is labeled to a corresponding letter-number combination.


(picture 3, 4) It will make the rest of the build go much more smoothly if you look through each parts bag and set aside the bags you need for each step. For example, for the first step of the mouth construction I will pull out the m2x7 and nut-m2 bags. Then I will get the pieces from the lettered board: C1-1, D2, A13, C3(2), A17.


(picture 5) the small black circles with numbers are how you know which step to do first. Always do the step next to the number 1 before the step next to the number 2, otherwise the entire model won't work.

(picture 6) The "mouthparts" step is a mirrored step. So you need to build it again, but mirroring the first one. This is the end of the first step! Your mouthparts are done

(picture 7, 8, 9) step 2 (chela) and will also be mirrored to make 2. The letter "A" is next to the parts that need to be made first, and the letter "B" is next to the second step. Step "A" will be used to put together step "B". The angle between pieces D7 and D8 is very hard to figure out just by looking at the paper directions. As soon as both parts are made, step 2 is done!


(picture 10)step 3 (head) is put together using both pieces from Step 1, facing opposite directions. The pipe piece ø4x0.4x2.5 is going to be the smaller circumference of the 2 types of pipes in that bag. Be careful to line up the red and green lines on the directions. This will ensure the correct piece is going into the correct hole. Make sure the claws from Step 1 are lined up evenly as this step is finished. Step 3 is done! (Pic 10)
(picture 11, 12, 13, 14, 15) step 4 (trunk) is put together using the finished step 3. There are 5 steps in this section, make sure to go in specific order! Make sure the 2 nuts, labeled 1 and 3, are installed before A1 and A3, respectively (pic 11, 12). ***Part E5 does not look like it is pictured in the directions. There is no curve on the bottom. It's totally flat. I don't think it effects the build in any way (pic 13)*** The first part of step 4 is finished after piece E1 is added (pic 14). M2x9 is the longer of the 2 kinds of screws in the bag, which is used on step 4.2. Step 4 is done! (Pic 15)


(picture 16, 17, 18, 19, 20, 21) step 5 (spikes) will be built in 3 different steps, although they are not labeled separately on the directions (pic 16). *** Part TH-m1.6x2.5x3 in the directions, but on the bag it is TH-m1.6x3x2.5 (pic 18)*** Pay close attention to the red and green arrows again here in the 2nd and 3rd parts of step 5. The 1st and 2nd parts of step 5 will be used to complete step 5 (pic 17, 19, 20). Getting the final piece (TB-m2x6x3.5) connected tightly is very delicate. I needed help from someone else to hold it for me. Step 5 is done! (Pic 21)


(picture 22, 23, 24, 25) step 6 (tail) is done in 3 parts. 6.1 is further broken up into 4 smaller steps, highlighted in yellow (pic 22). The angles are still hard to figure out because they can be different for each builder, depending on how you want your final project to look. Step 6.2 is also broken up into 3 parts. The final product from 6.1 (pic 23) will be used to complete 6.2 (pic 24). Step 6.3 is built in 2 parts, using 6.2 to finish. Step 6 is done! (Pic 25)


(picture 26, 27, 28, 29, 30, 31, 32, 33) Step 7 is when the upper body of the Scorpion is put together. Each of the steps from earlier in the build will be combined. The upper body is split into 3 parts (A, B, and C). 'A' is the claw section, which includes the trunk from Step 4 and both chela claws from Step 2, which are built in 4 smaller steps (pic 26, 29). 'B' is the spikes , or stinger, at the end of the tail and is split into 5 smaller steps (pic 27, 30). 'C' is where the upper body is combined with the tail from Step 6, which is built in 3 smaller steps (pic 28, 31). Step 7 is done! (Pic 32, 33)


(picture 34, 35, 36, 37) step 8 (feet) has the most confusing directions out of the entire model. The feet will be built in different parts, starting at 'A' (pic 34) then 'B' (pic 35) and then 'C' (pic 36) and then combine them. Every foot will have a mirrored foot. The directions have a 'white' and 'black' part labeled for each step. The white parts are smaller than the black parts, which means the white parts will be used to make the smaller front and back legs. The black parts will be used to make the 2 middle legs on each side. There will be 4 smaller legs and 4 larger legs when step 8 is complete (pic 37). Make sure half of the legs are mirrored. Step 8 is done!


(picture 38, 39, 40) step 9 (chassis) is where all of the feet built in step 8 will be combined to form the base of the model. I found that the easiest way to get this step done is to put 1 leg at a time between B6 and B5, then secure each leg with the m2x7 screw and nut-m2 (pic 38, 39). Make sure to tighten each nut so the legs stay in place. Step 9 is done! (Pic 40)


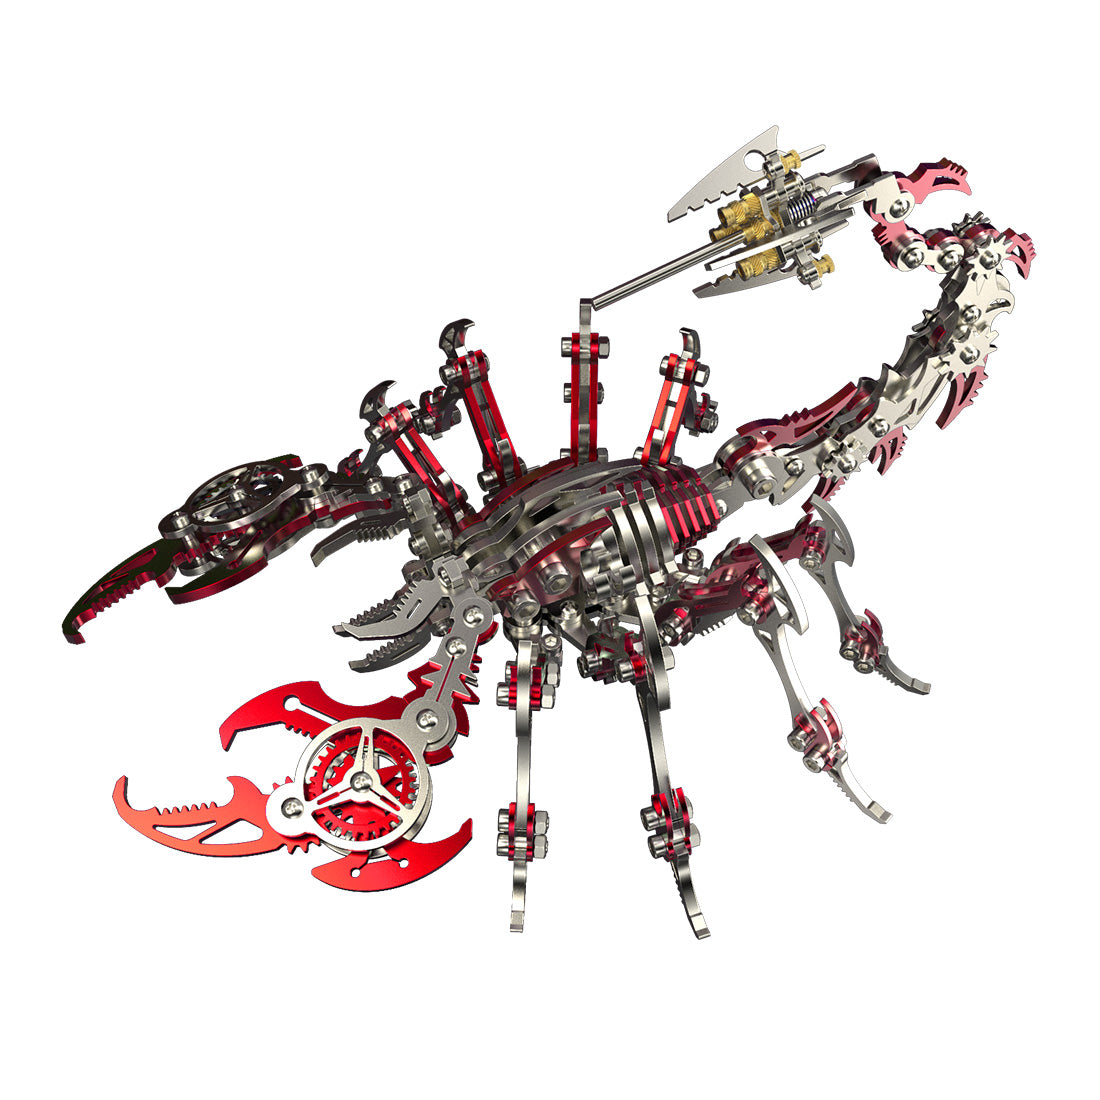
(picture 41, 42) step 10 (body assembly) is the final step for completing the model! The 2 screws will go through the bottom of the legs from Step 9 and anchor into the nuts from Step 4. All of the angles can be moved to position your scorpion into slightly different poses. Step 10 is done!
The model is finished! (Pic 41, 42) This was such a fun model to build! Thank you so much!







1 comment
Hi could i get a detailed photo of instruccions?? the pieces also.