


How to Clean Metal Model Kits: A Beginner’s Guide
Keep Your Mechanical Masterpieces Shiny & Rust-Free
1. Why Clean Your Metal Models?
- Preserve Value: Proper care prevents rust and damage that can reduce resale value.
- Enhance Display: Clean models look better in your home, office, or collection.
- Prevent Damage: Dust and moisture can cause irreversible corrosion over time.
⚠️ Common Mistakes to Avoid:
- ❌ Using alcohol or harsh chemicals (damages finishes).
- ❌ Submerging models in water (rusts metal parts).
2. Tools You Already Have at Home
Basic Cleaning Kit
- Soft-bristle toothbrush
- Hair dryer (cool setting)
- Microfiber cloth
- Cotton swabs
Optional Extras
- Lemon juice (for rust removal)
- Toothpaste (non-abrasive)
- Contact Cleaner (rust protection)
3. Step-by-Step Cleaning Process
Step 1: Remove Loose Dust
-
Blow Away Debris
- Use a hair dryer on cool setting, held 8 inches away.
- Focus on cracks, scales, and joints (e.g., dragon wings, spider legs).
- Pro Tip: Place a white sheet underneath to see dust more easily.
-
Gently Brush
- Use a toothbrush to scrub crevices.
- For delicate parts (e.g., LED lights), use a cotton swab.
Step 2: Clean Stubborn Stains
Fingerprints & Grease
- Dampen a microfiber cloth with water.
- Wipe in one direction (don’t rub in circles).
- Stubborn spots? Add a drop of dish soap.
Rust Spots
- Apply lemon juice to rust with a cotton swab.
- Let sit for 5 minutes, then scrub with a toothbrush.
- Rinse with water and dry immediately.
Glue Residue
- Soak a cotton ball in nail polish remover (acetone-free).
- Dab on glue for 10 seconds, then scrape with a credit card edge.
Step 3: Restore Shine
-
Apply Toothpaste
- Squeeze a pea-sized amount onto a cloth.
- Buff flat areas (e.g., dragon’s back) in circular motions.
-
Detail Work
- Use a cotton swab dipped in toothpaste for small details (e.g., robot eyes).
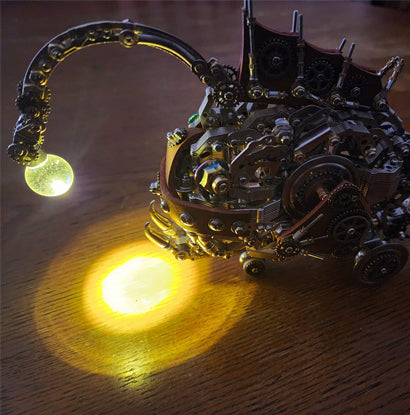
Step 4: Clean LED-Lit Models Safely
- Unplug or Remove Batteries
-
Wipe Exterior
- Use a damp cloth on the casing.
- Use compressed air to clean inside light slots.
-
Avoid Water Near Electronics
- Never submerge LED components.
Step 5: Prevent Future Damage
-
Lubricate Joints
- Apply a drop of sewing machine oil to moving parts.
-
Rust Protection
- Spray contact cleaner on metal parts twice a year.
-
Storage Tips
- Short-term: Cover with a plastic bag.
- Long-term: Store in an airtight container with silica gel packs.
4. Model-Specific Cleaning Tips
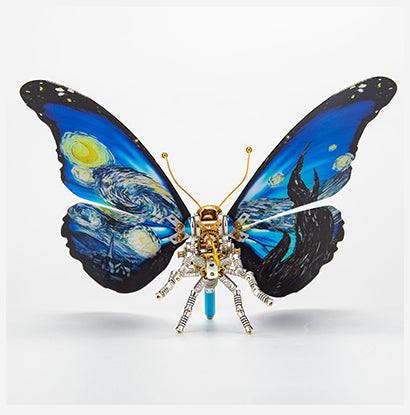
Insect Models (e.g., Mantis)
- Clean eyes with a camera lens brush.
- Apply Vaseline to wing joints for smooth movement.
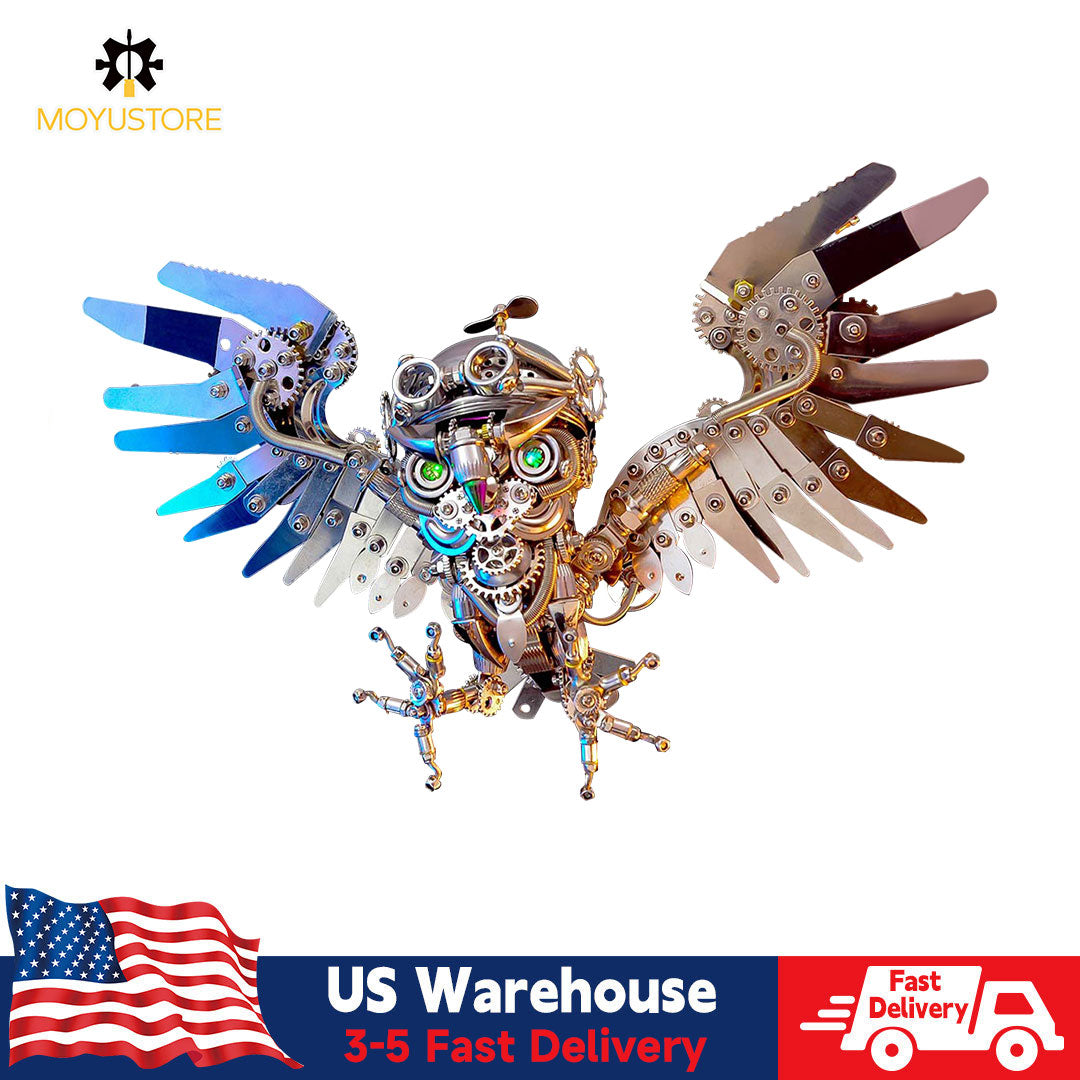
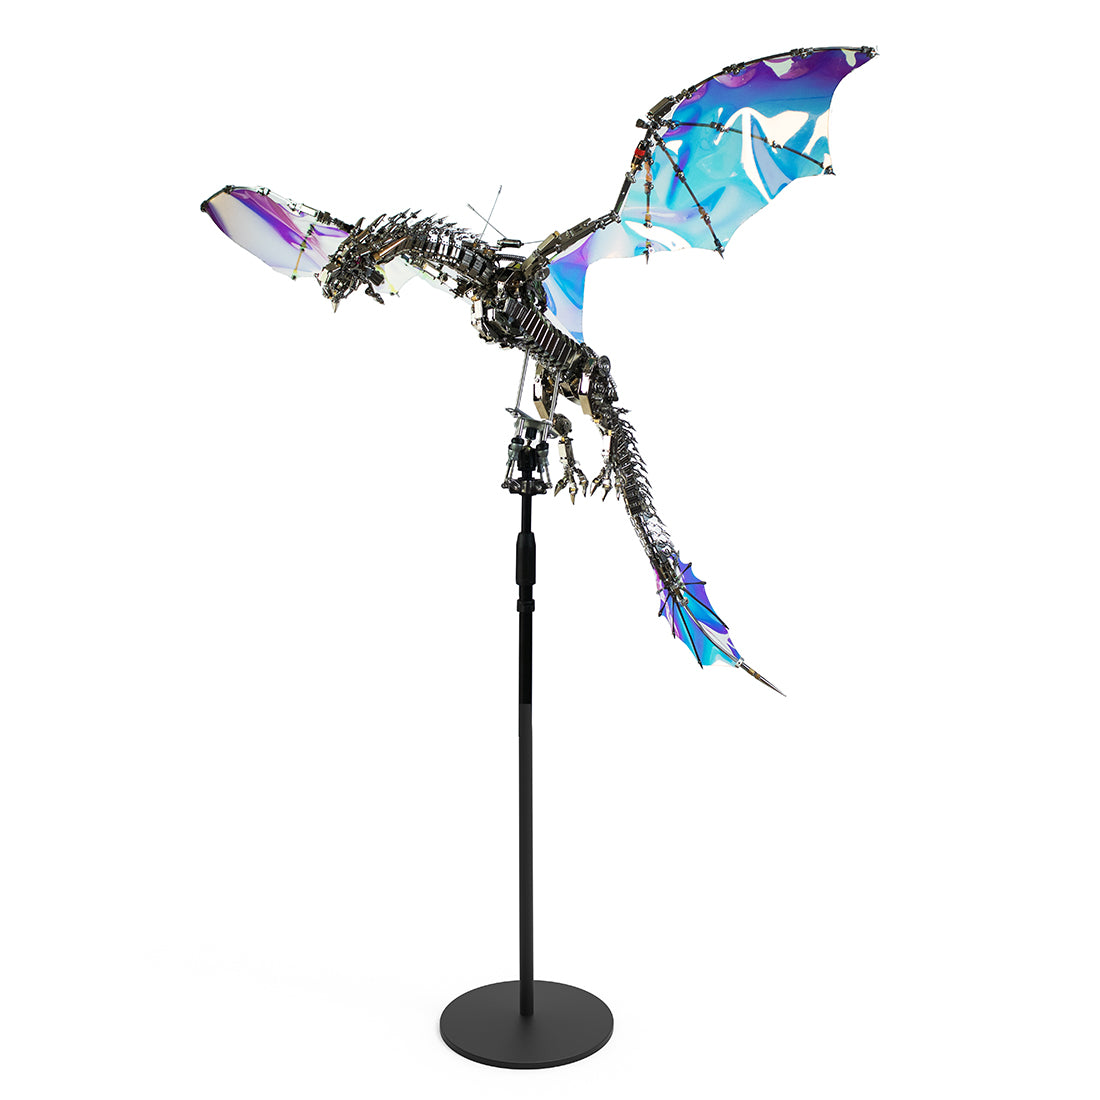
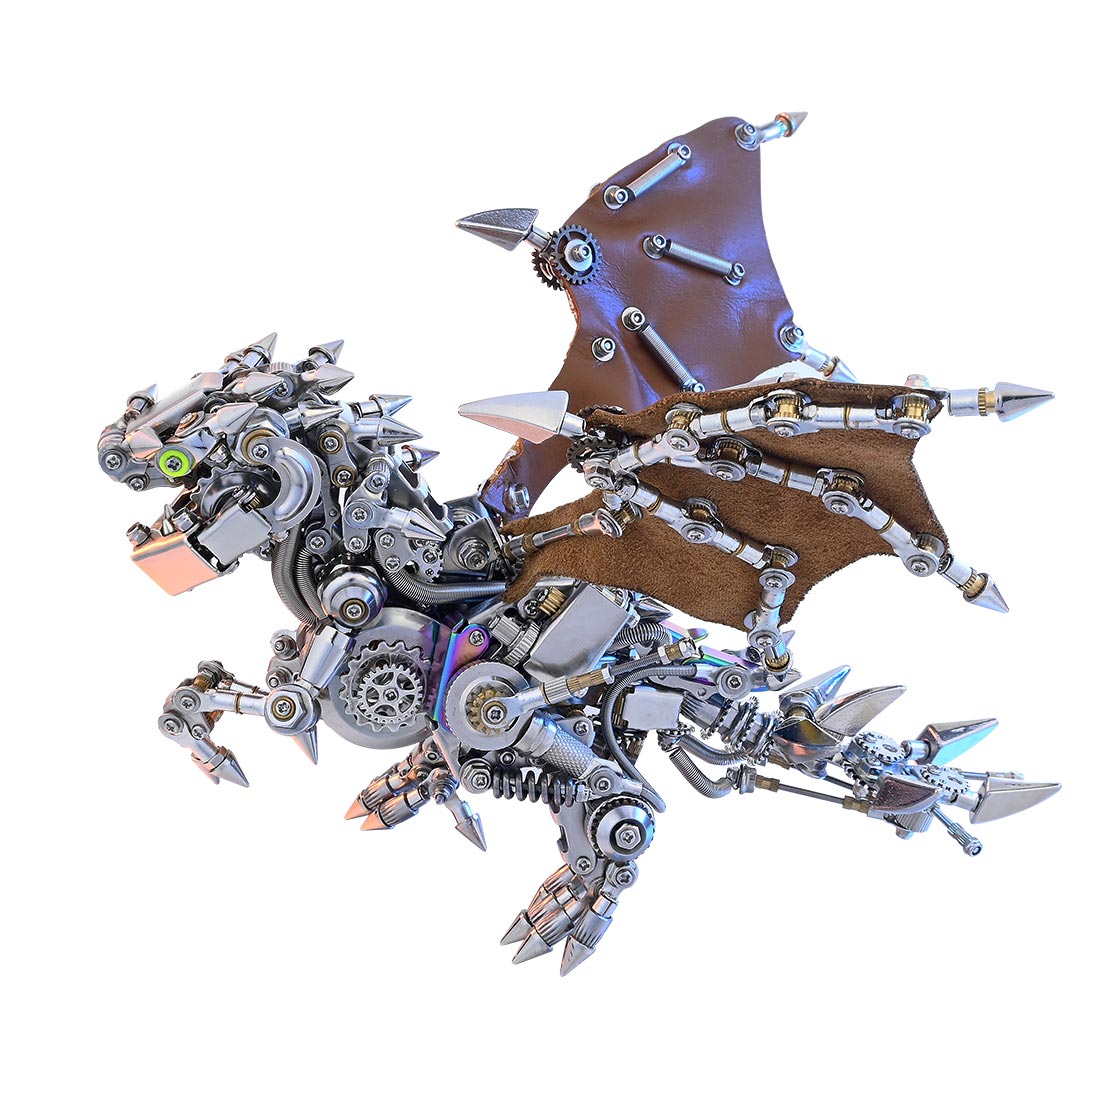
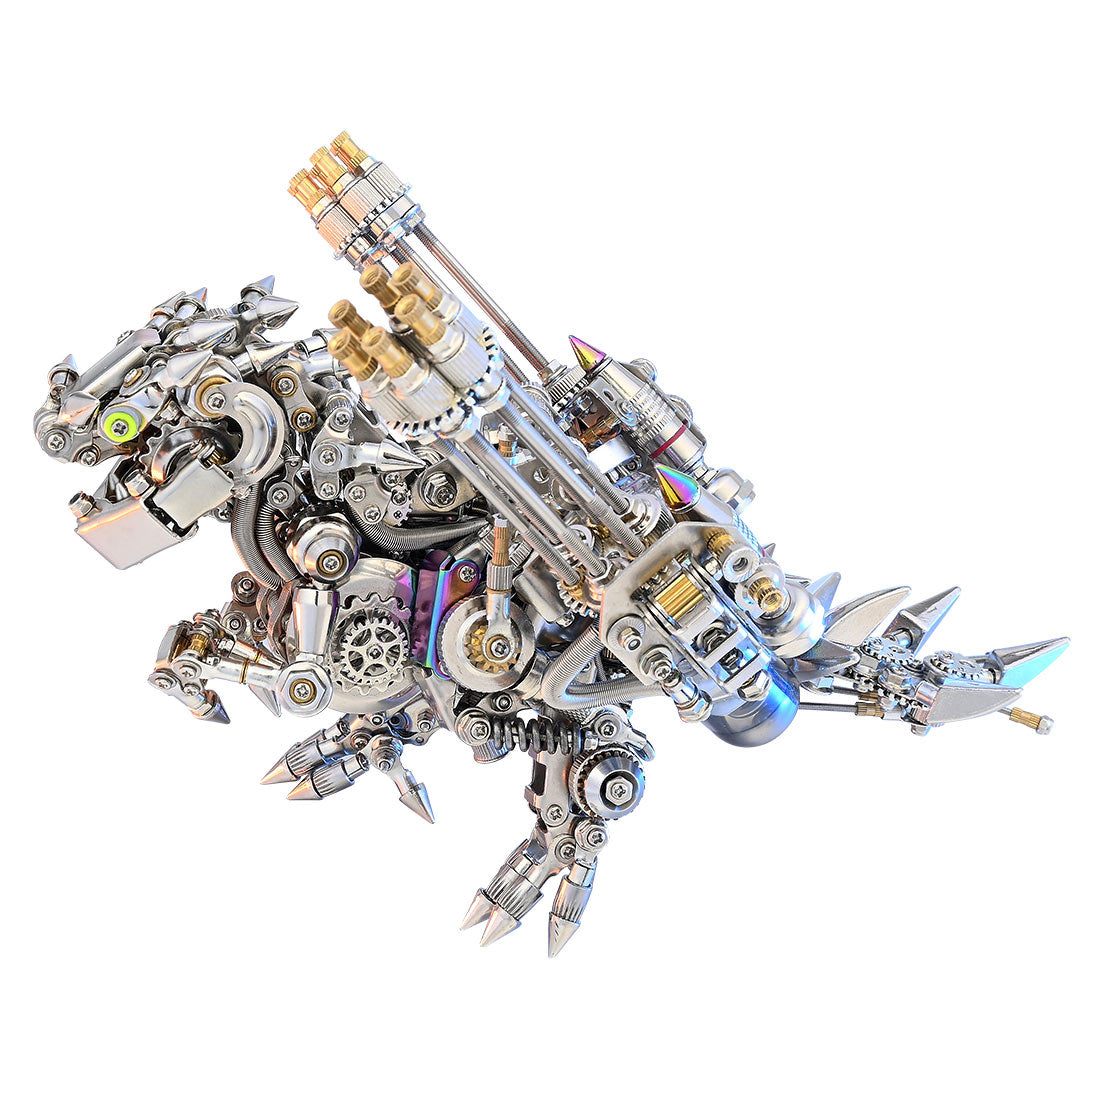
Dragon Models
- Brush scales from bottom to top.
- Use a toothpick wrapped in cloth to clean claws.
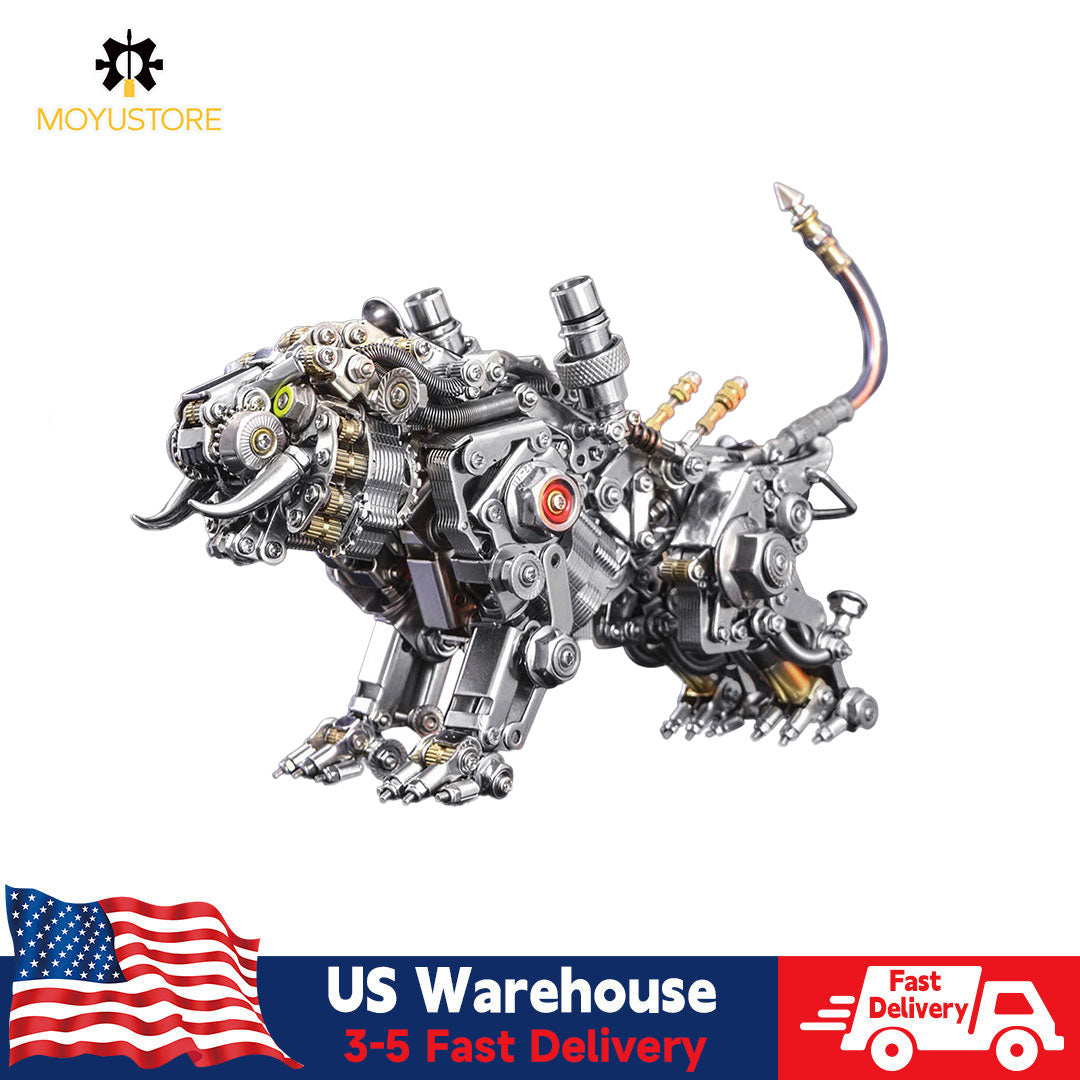
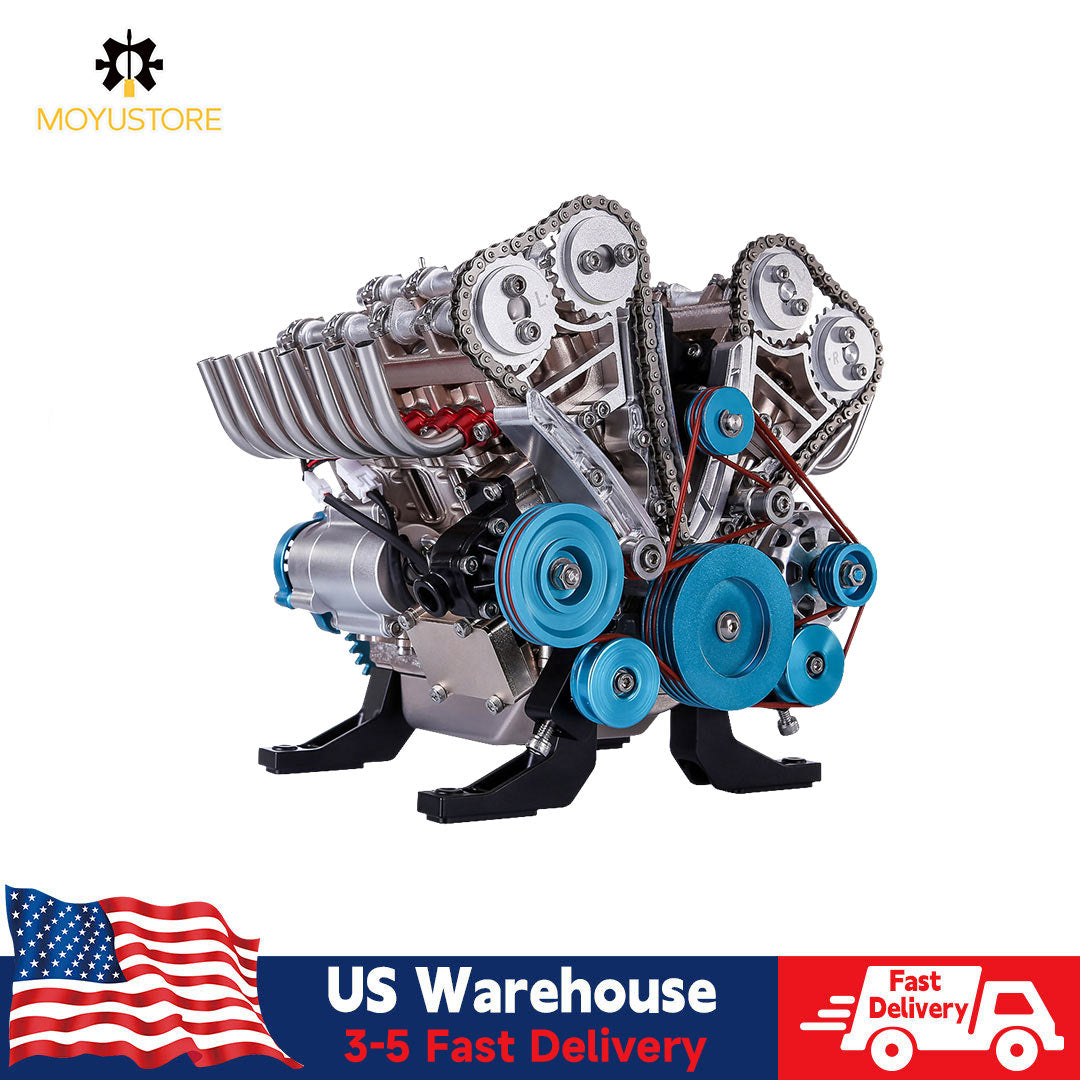
Gear Models (e.g., Mechs)
- Spray compressed air into gearboxes.
- Apply watch oil to gears to reduce noise.
5. FAQs from Model Collectors
Q: How do I fix a stuck mechanical joint?
A: Soak it in sewing machine oil for 1 hour, then gently wiggle it.
A: Soak it in sewing machine oil for 1 hour, then gently wiggle it.
Q: Can I use ultrasonic cleaners?
A: No! They may loosen glued parts. Stick to hand-cleaning.
A: No! They may loosen glued parts. Stick to hand-cleaning.
Q: My gold plating is peeling. What should I do?
A: Buff gently with a jewelry polishing cloth (e.g., Sunshine Cloth).
A: Buff gently with a jewelry polishing cloth (e.g., Sunshine Cloth).
6. Expert Advice
“Always test new products on the bottom of your model first.”
— Steampunk Enthusiast Magazine
“Invest in UV-protective display cases to prevent fading.”
— Model Collecting Handbook
7. Decorating Ideas After Cleaning
- Living Room: Display a polished dragon on a floating shelf.
- Kids’ Room: Use LED models as nightlights
- Office: Pair a robot model with a minimalist desk lamp.
8. Product Recommendations
- Cloths
- Rust Remover
- Compressed Air